Step 3: Rolling the walls
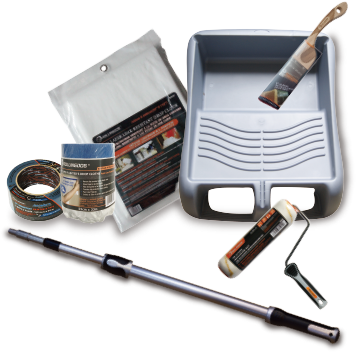
Painting with roller: Put your roller cover on the cage. Stir your paint thoroughly, and pour about ½ and inch into the tray’s well.
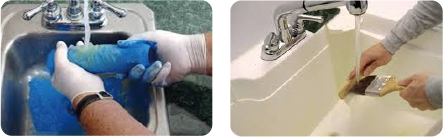
Dampen the roller cover: Prepping your roller ensures faster painting — and saves paint. For latex paint, dampen your roller cover with water from your spray bottle or the faucet. For oil-based paints, roll the alkyd-appropriate roller cover in the tray of paint thinner. Scrape off excess moisture with your 5-in-1 tool.
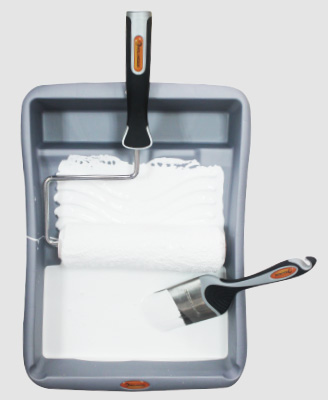
Roll the roller down into the paint tray.
Roll down the slope of the rake in to the paint well. Properly loading the roller cuts down on spatter and drips and improves coverage.
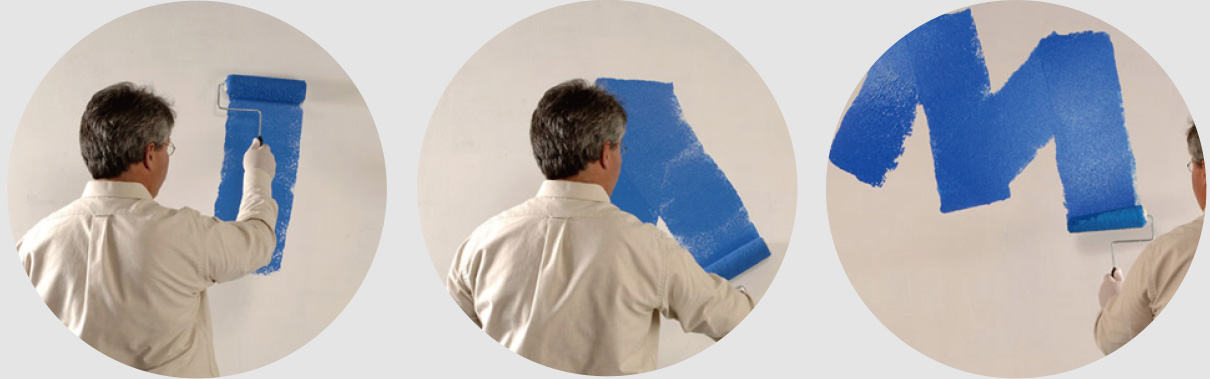
Roller painting technique
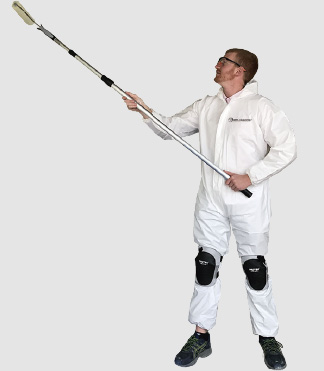
Hold the roller properly to improve your control: Hold it in your dominant hand. Stand with your feet shoulder-width apart and your roller directly in front of you. If you’re using an extension pole, place your dominant hand toward the bottom for control and your non-dominant hand at the middle position for leverage and pressure.
Paint a diagonal upward stroke.
Use a long, slow, upward diagonal stroke to unload the first part of the “M” pattern.
Make a diagonal downward stroke.
In a continuing motion, follow the first upward stroke with a long, slow stroke downward at a diagonal.
Continue by finishing the "M" pattern.
In a continuing motion, use another long, slow, upward diagonal stroke and another long, slow downward diagonal stroke to finish the “M” pattern.
Cross the "M" with horizontal strokes. Paint a series of horizontal strokes working from the bottom of the “M” to the top.
Smooth out the section.
Smooth the section by making a series of downward strokes from top to bottom.
Repeat steps to complete the wall.
Repeat the process of loading and painting. Working in small sections, move from dry areas to wet ones, overlapping the wet edge each time.